1. Introduction
Everyone loves dashboards. As I recently started blogging, I also wanted to see how my blog was doing. The numbers won't be anything to brag about since I just started blogging, but I wanted to see them nevertheless. When I started looking for solutions, I had some requirements in mind:
- Free and open source
- Self-hostable
- Works on resource-constrained environments
- Simple to set up
My homelab is almost a decade old with barely 1–2 GB of RAM to spare for this analytics software. With these requirements in mind, I fired up my LLM web interface and sent it on a deep research errand.
2. Plausible
My first choice was Plausible. It ticked all the boxes—or so I thought. Setting up Plausible was a breeze because NixOS already has a build defined for it. After running Plausible for a while, it consumed whatever RAM was left on my homelab along with almost all of the swap memory. It made the homelab unusable. Even logging into the homelab through SSH took minutes. Killing the process was another chore because it was running as a systemd service. This isn't to say that Plausible is bad software, just that it didn't fit my use case. Once I got the homelab back under control, I went back to the drawing board. This time I asked an LLM to find software that uses the minimal amount of resources to run. Next, I settled on GoatCounter.
3. GoatCounter
I looked at the homepage of GoatCounter and found it to be exactly what I was looking for. It checked all the boxes. No overly complicated menus or enterprise-grade features—just a simple, self-hostable, free and open source project.

The diagram above shows the setup I want to achieve. A VPS is necessary in this pipeline as the homelab is only reachable within your tailnet. Your VPS also needs a valid domain name and a certificate to support HTTPS. I'm using a free DuckDNS address for my VPS.
3.1. Installing GoatCounter
Setting up GoatCounter on NixOS was just four lines of configuration because a build is already defined in the NixOS configuration. Instructions for running with Docker are available here.
services.goatcounter = {
  enable = true;
  address = "0.0.0.0";
  proxy = true;
  extraArgs = [ "-automigrate" ];
};
The options are self-explanatory. An important option here is proxy = true. Since GoatCounter is running on my homelab behind a reverse proxy, telling GoatCounter about this setup disables all TLS enforcement. The responsibility of handling TLS falls to the VPS. This should be enough to get GoatCounter running on your machine. You can visit https://<tail-scale-url>:8081 and you'll be greeted with the create account page.
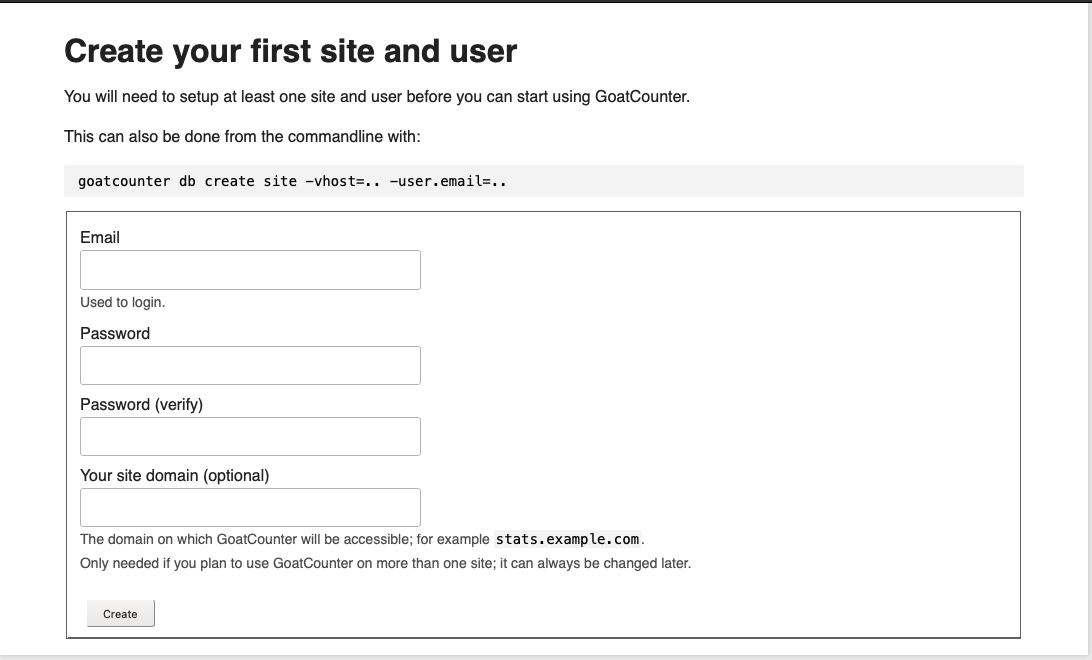
You can provide your signup info and the website at which GoatCounter will be accessible.
Note: You need to provide the domain where GoatCounter is accessible. Since the user's browser will use the domain name of your VPS, put that domain in
Your site domain, not your Tailscale MagicDNS domain. Once you've set your VPS domain as the site where GoatCounter is available, you won't be able to log in to GoatCounter using your MagicDNS domain—you'll hit a login loop. This tripped me up during my setup as well. To log into GoatCounter and view the dashboard, use your VPS domain.
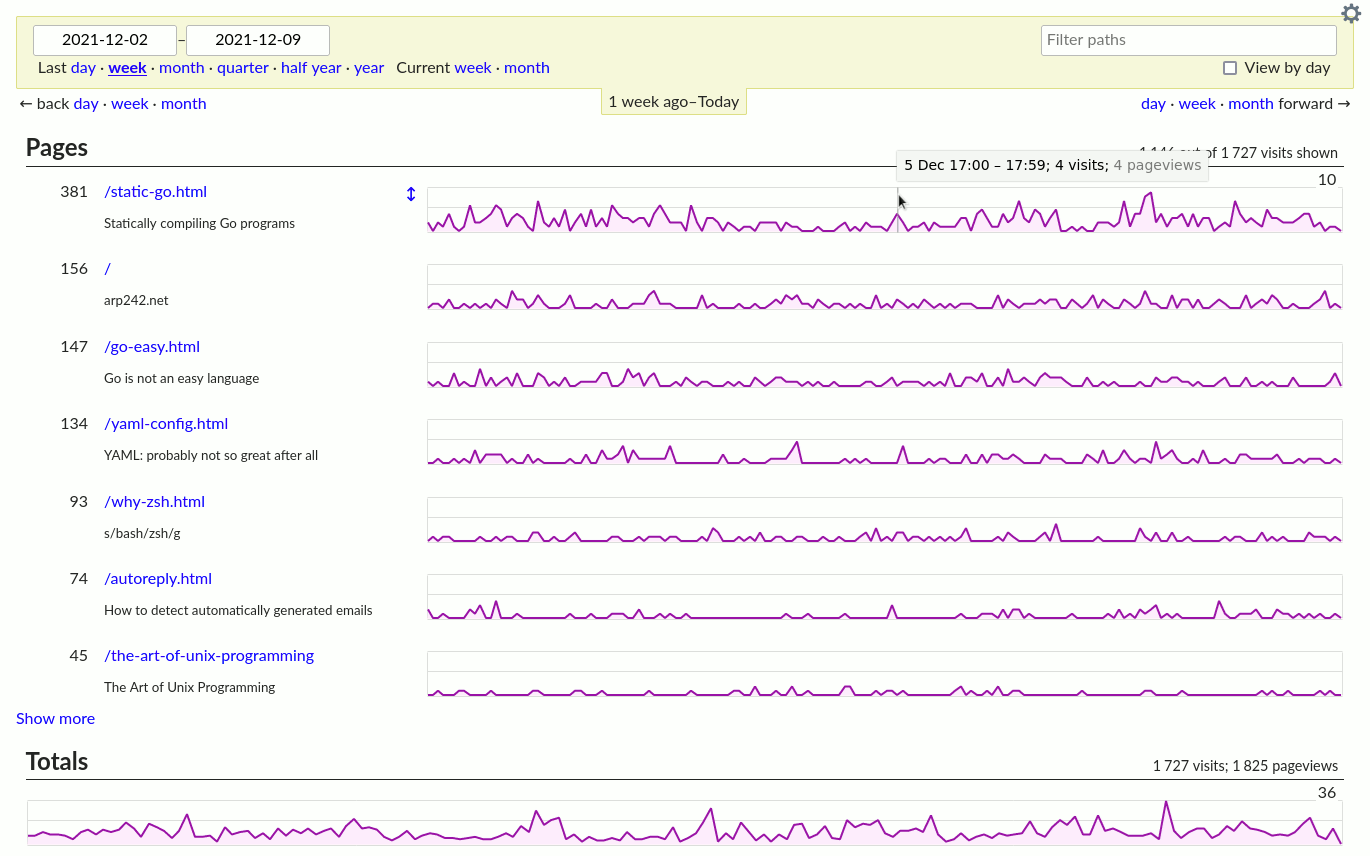
Once you set up your account, you'll be asked to log in. After logging in, you'll see a page like this, except that it won't show any pages and the charts will all be flat lines at 0. More images are available on the GoatCounter homepage.
3.2. Setting up reverse proxy
I use Caddy as my reverse proxy. Setup for Nginx should look similar. You can add a block like this to your Caddyfile to proxy requests to your homelab.
example.public.domain.net {
    encode gzip
    reverse_proxy http://example-homelab.magicdns.ts.net:8081 {
        # Caddy sets all of these properly by default
        # Showing the settings here for reference to use
        # with other reverse proxies
        header_up Host {host}
        header_up X-Forwarded-Proto https
        header_up X-Forwarded-For {remote}
        header_up X-Real-IP {remote}
    }
}
Since the reverse proxy terminates the connection and starts a new request from itself to your homelab, we need to update a few headers to make sure GoatCounter sees the origins of requests properly. Otherwise GoatCounter might think that all requests are coming from the VPS, which will render some of the stats useless.
header_up Host {host}→ Preserves the originalHostheader that the client requestedheader_up X-Forwarded-Proto https→ The protocol used by the clientheader_up X-Forwarded-For {remote}→ Chain of IP addresses starting from the clientheader_up X-Real-IP {remote}→ IP address of the proxy
Caddy sets these headers by default, so you don't need to set them explicitly. I'm showing them here for reference.
3.3. Setting up JavaScript
Finally, we can add a script to the page that is served to the user. This script gathers information about the user's environment and sends it to our VPS, which proxies it to GoatCounter. There are other ways to get data into GoatCounter, covered here. You just need to add this little script tag to your pages.
<script data-goatcounter="https://example.public.domain.net/count"
        async src="//example.public.domain.net/count.js"></script>
The data-goatcounter attribute tells the script where to send the gathered user data.
3.4. Skipping your own views
A neat snippet in the count.js script lets you easily skip your own views of the blog. It doesn't matter much if you have a popular blog, but for a new or little-visited blog, your own views might skew the numbers. You can visit your own website with a small ID appended to the end, namely #toggle-goatcounter. This sets a field in your browser's local storage that tells it to ignore views from this browser. You'll see a visual confirmation as well.
4. Conclusion
There you have it: setting up a very simple tracking system on your blog to extract insights from the visits your blog gets. GoatCounter is free and open source software. If you find value in GoatCounter, consider donating to the author on GitHub Sponsors to support his work.